
Instructions for posting photos
To add or remove photos of a family member, you need to be registered in Kartalis Tree. If you would like to register, click MEMBER REGISTRATION.
Steps
- Go to Members Management: From the home page of kartalistree.com, or by clicking here, choose MEMBERS MANAGEMENT. You will be asked to log in with the details the administrators sent you when you registered.
- Edit the member: In the members list, choose EDIT for the member whose photo gallery or other details you want to edit.
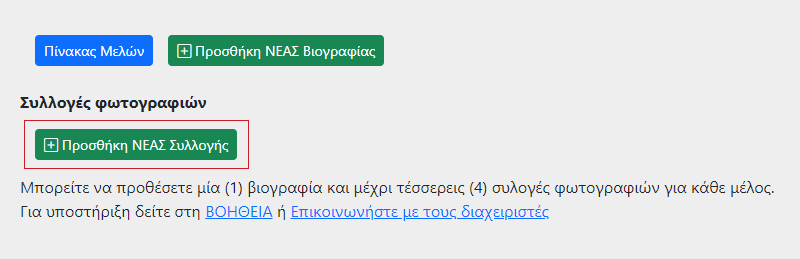
- Create or edit a gallery: The photos you upload to Kartalis Tree must belong to a photo gallery. In Members Management you can create up to four (4) photo galleries for each member by pressing "Add NEW Gallery" (Image 1).
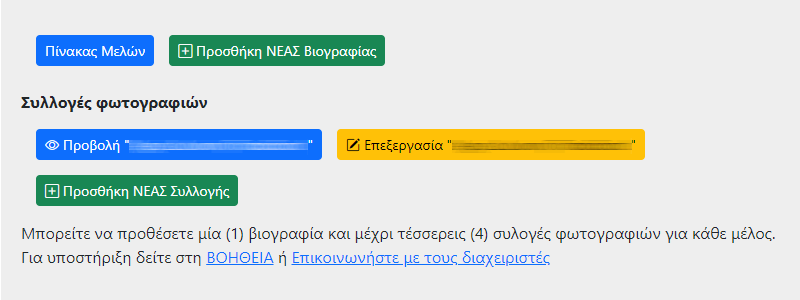
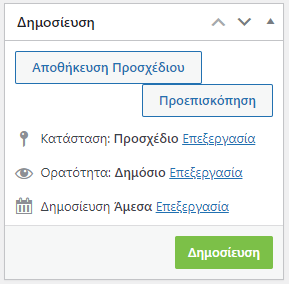
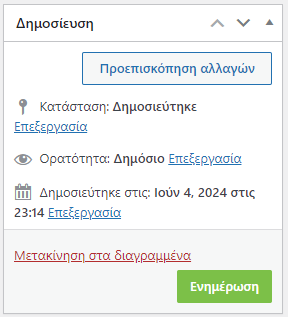
- The new gallery is created and you can edit it by pressing Edit (the yellow button, Image 2). In the gallery editor you can add photos, change the name of the gallery and publish it. Until you add photos and publish the new gallery, it is not shown to the visitors of Kartalis Tree. To publish your gallery, press Publish (Image 4).
Adding photos to a new or existing gallery
If you want to add photos to a gallery that already exists, or remove photos from it:
- Go to Members Management: From the home page of kartalistree.com, or by clicking here, choose MEMBERS MANAGEMENT.
- Choose EDIT for the member whose photo gallery you want to edit.
- Open Envira Gallery:
- In the WordPress dashboard, go to the "Envira Gallery" section.
- Click "Galleries" to see the list of existing galleries.
- Click the title of the gallery you want to upload photos to.
- Upload new photos:
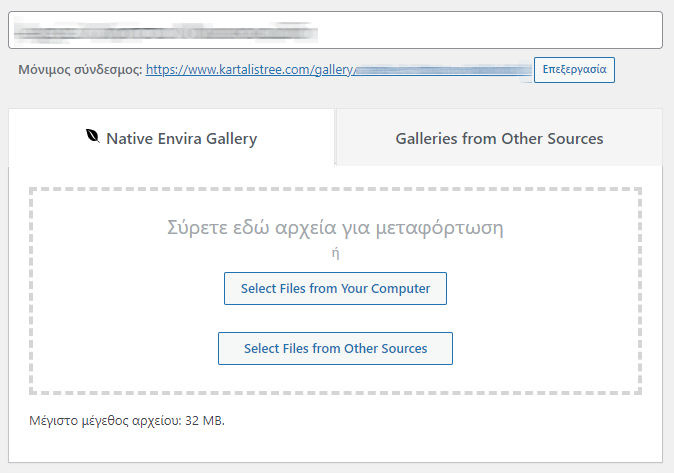
- On the edit page of the gallery, find the "Native Envira Gallery" tab.
- Click "Select Files from Your Computer" or "Select Files from Other Sources" (Image 3) to upload photos from your computer or from other sources.
- Choose the photos you want to upload and wait for the upload to finish.
Adding and removing photos
- Adding photos:
- To add more photos, follow the same steps for uploading new photos as described above.
- You can also drag and drop photos straight into the "Gallery Images" section.
- Removing photos:
- To remove a photo from the gallery, move the mouse pointer over the photo you want to remove.
- Click the trash can icon that appears on the photo.
- Confirm the removal if you are asked to.
Tagging photos
- Adding tags:
- In the gallery editor, find the photo you want to tag.
- Click the pencil icon (Edit) on the photo to edit its details.
- In the "Tags" field, choose the tags you want to add from the available ones. You can add several tags, separated by commas.
- Press "Save Metadata" to save your changes.
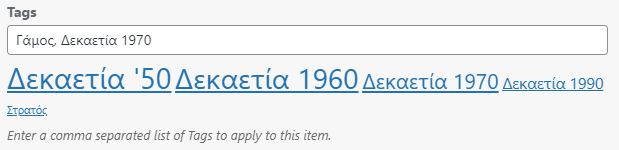
- Editing and removing tags:
- To edit or remove tags, follow the same steps for editing a photo and change the tags as you wish.
- To remove tags, delete them from the "Tags" field and save your changes.
We hope these instructions help you manage your photos in Envira Gallery easily. For more information you can visit the official Envira Gallery documentation.